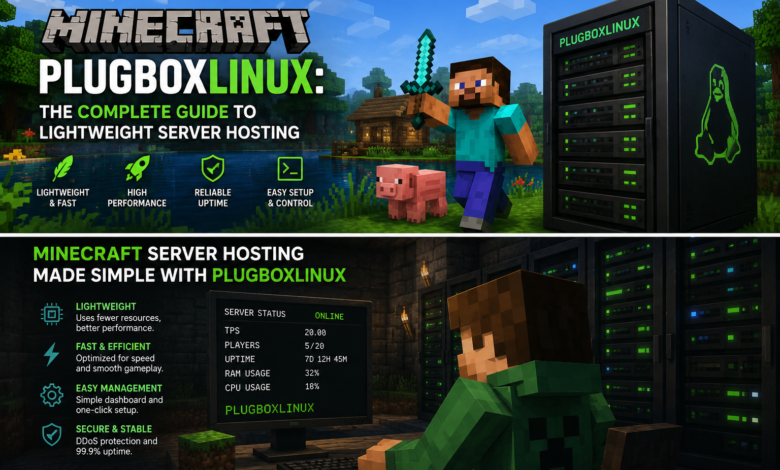
If your Minecraft server lags on old hardware, the operating system underneath it is often the real culprit. That’s where the idea of minecraft plugboxlinux comes in running Minecraft on a stripped-down, Arch-based Linux setup built to waste as little CPU and RAM as possible on background processes.
This guide walks through what a plugbox-style Linux environment actually is, how to set one up for Minecraft, how to optimize it, and whether it’s genuinely worth the effort compared to more common alternatives like Ubuntu Server or Alpine Linux.
What Does “PlugboxLinux” Actually Mean?
A quick note before diving in, because it matters for anyone searching this term: PlugboxLinux isn’t a mainstream, actively maintained distribution with an official website and release schedule the way Ubuntu or Fedora are. The name traces back to an early Arch-based project built for tiny “plug computers” small, low-power ARM devices which was later folded into what’s now known as Arch Linux ARM.
Today, when people talk about minecraft plugboxlinux, they usually mean something more general: a minimal, Arch-style Linux install stripped of anything that isn’t strictly necessary, then used to host or play Minecraft. Think of it less as a specific product and more as a philosophy minimal base system, no bloated desktop environment, and every spare CPU cycle handed to the game.
That philosophy is genuinely useful, even if the branding around it online is a bit murky. So the rest of this guide treats minecraft plugboxlinux as a setup style, not a single downloadable ISO and walks through how to build that setup yourself using real, trustworthy tools.
Why a Lightweight Linux Setup Helps Minecraft Performance
Minecraft, especially with plugins or mods, is CPU-hungry. Every redstone circuit, every mob pathing calculation, and every chunk load competes for processing time. A heavy operating system with a full desktop environment, background updaters, and unnecessary services eats into that budget before the game even starts.
A minecraft plugboxlinux style approach strips that overhead away. Here’s what that buys you in practice:
- More headroom for ticks per second (TPS). Fewer background processes means the server loop has more consistent access to CPU time, which keeps the game world running smoothly instead of stuttering under load.
- Lower memory footprint. A minimal install can leave hundreds of extra megabytes of RAM free compared to a full desktop distro RAM that goes straight to the Java heap instead.
- Faster boot and restart times. Useful if you’re rebooting a home server or a small VPS regularly.
- Better performance on old or low-power hardware. A ten-year-old PC or a cheap single-board computer can still host a small server if the OS isn’t fighting the game for resources.
None of this is magic it won’t turn a Raspberry Pi into a 100-player server but for small private worlds, friend groups, or modest plugin-based servers, it’s a real and measurable improvement.
Setting Up a Minecraft PlugboxLinux Environment Step by Step
Here’s a practical path to building this kind of setup yourself, using genuinely available tools rather than any unverified “plugbox” download.
Step 1: Choose Your Base Distro
Arch Linux (or Arch-based options like EndeavourOS) gives you a genuinely minimal starting point you build up only what you need. If Arch feels intimidating, Debian’s “netinst” image or Alpine Linux are solid, beginner-friendlier alternatives that follow the same minimal philosophy.
Step 2: Install Only the Essentials
Skip the desktop environment entirely if this machine is a dedicated server. You don’t need a GUI to run Minecraft on the command line you need a terminal, SSH access, and package management. This single choice is what separates a true minecraft plugboxlinux setup from a bloated general-purpose install.
Step 3: Install Java
Minecraft depends entirely on Java, and using the right version matters:
- Minecraft 1.17 and later needs Java 17 or newer.
- Older versions may need Java 8 or 11.
On Arch-based systems:
sudo pacman -S jdk-openjdkOn Debian/Ubuntu-based systems:
sudo apt update && sudo apt install openjdk-17-jre-headlessConfirm it installed correctly with:
java -versionStep 4: Set Up the Server Directory
Create a dedicated folder to keep everything organized:
mkdir ~/minecraft-server && cd ~/minecraft-serverDownload the official server JAR from Minecraft’s website into this folder, then accept the EULA by creating an eula.txt file containing eula=true.
Step 5: Allocate Memory Correctly
Launch the server with explicit memory limits rather than letting Java guess:
java -Xms1024M -Xmx2048M -jar server.jar noguiGiving Java too much RAM can actually hurt performance, because garbage collection has more memory to sweep through. Start conservative and adjust based on real usage.
Step 6: Open the Right Ports and Configure Firewall Rules
Minecraft defaults to port 25565. If you’re hosting for friends outside your local network, you’ll need to forward that port on your router and allow it through your firewall:
sudo ufw allow 25565/tcpPerformance Optimization Tips for a Lightweight Setup
Getting the base install right is only half the job. A few extra tweaks make a real difference:
- Use a performance-focused server jar like Paper instead of vanilla server software it includes optimizations that reduce lag without changing gameplay.
- Limit view distance and simulation distance in
server.properties. Lower values dramatically reduce CPU load, especially with multiple players. - Disable unused server features if you don’t need the Nether or the End, or specific game rules, turning them off saves resources.
- Run the server headless, with no GUI, using the
noguiflag shown above. - Schedule regular restarts (e.g., a nightly cron job) to clear memory leaks that build up over long uptime.
- Monitor with lightweight tools like
htopinstead of anything resource-heavy.
Minecraft PlugboxLinux vs. Other Lightweight Hosting Options
Here’s how a plugbox-style Arch/minimal setup compares to other common choices for self-hosted Minecraft servers.
| Setup | Resource Usage | Ease of Setup | Best For |
|---|---|---|---|
| Minecraft PlugboxLinux (minimal Arch-style) | Very low | Moderate (manual config) | Enthusiasts who want full control |
| Ubuntu Server | Moderate | Easy | Beginners who want strong documentation |
| Alpine Linux | Very low | Moderate-hard | Advanced users comfortable with musl libc quirks |
| Windows Server | High | Easy | Users who already run Windows tools |
| Managed hosting (paid) | N/A (handled for you) | Very easy | Anyone who doesn’t want to manage a server at all |
The pattern is consistent: the lighter the base system, the more setup effort it usually demands. A minecraft plugboxlinux approach sits at the “low resource, moderate effort” end of that spectrum a good trade for hobbyists, not necessarily for someone who just wants to click “start.”
Pros and Cons of a PlugboxLinux-Style Minecraft Server
Pros:
- Frees up more CPU and RAM for the game itself
- Runs well on old or low-power hardware
- No licensing costs, unlike some commercial server operating systems
- Full command-line control over updates, backups, and automation
- Smaller attack surface since fewer background services are running
Cons:
- Steeper learning curve than a beginner-friendly OS with a graphical installer
- Less hand-holding documentation than mainstream distros like Ubuntu
- Manual troubleshooting is common expect to use the terminal often
- Not ideal if you want a plug-and-play experience out of the box
Troubleshooting Common Issues
Server won’t start / “Unsupported major.minor version” error: This almost always means a Java version mismatch. Check java -version against the Minecraft version’s requirements.
Players can’t connect from outside your network: Double-check port forwarding on your router and that your firewall allows traffic on 25565.
Server randomly freezes or crashes under load: This is usually a memory allocation issue. Revisit your -Xmx value, and check whether view distance is set too high for your hardware.
High CPU usage even with few players: Look for redstone contraptions or entity-heavy farms in the world these are common causes of tick lag independent of the operating system.
Conclusion
A minecraft plugboxlinux setup isn’t a magic performance boost or an official downloadable product it’s a minimal, Arch-inspired way of running Linux that hands more of your hardware’s resources over to the game itself. For hobbyists hosting a small server on older hardware, that philosophy genuinely pays off: less overhead, more headroom, and full control over how the system behaves.
If you’re comfortable working in a terminal and want to squeeze the most performance out of modest hardware, building your own lightweight Linux server for Minecraft is a worthwhile weekend project. Start with a minimal base install, get Java configured correctly, and tune from there your TPS will thank you.
You may also Like: Contact G15Tools.com

